Shadows in outdoor photography refer to the dark, contrasting areas created when light is blocked or partially blocked by objects, adding depth and dimension to images. Skillful use of shadows can enhance the mood, create visual interest, and highlight specific elements in the outdoor scene.
“Unlock the secrets of captivating outdoor photography by mastering the art of evading shadows. Picture-perfect moments often slip away when shadows play spoilsport. Discover the key techniques on ‘How to Avoid Shadows in Outdoor Photography’ and transform your photos into stunning masterpieces. Embrace the light, seize the moment, and let your creativity shine!”
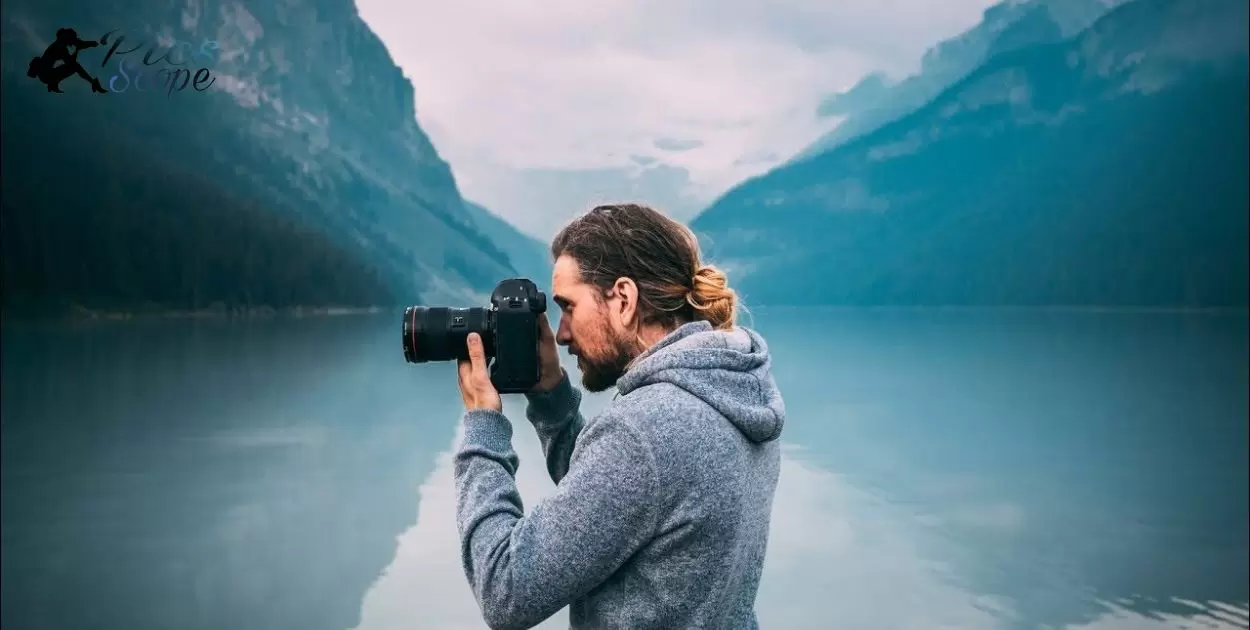
To minimize shadows in outdoor photography, shoot during the golden hours just after sunrise or before sunset when the sunlight is softer. Additionally, position your subject facing the light source to reduce harsh shadows and use a fill flash to illuminate dark areas.
How To Eliminate Shadows In Product Photography
Eliminating shadows in product photography requires good lighting. Position lights to shine directly on the product from different angles. Avoid harsh shadows by diffusing light with softboxes or umbrellas.
Adjust the light intensity to minimize shadows. Use reflectors to bounce light onto dark areas. Experiment with various setups until you achieve a well-lit, shadow-free product image. Remember, proper lighting is key in shadow elimination for stunning product photos.
Understanding Light Sources and Direction
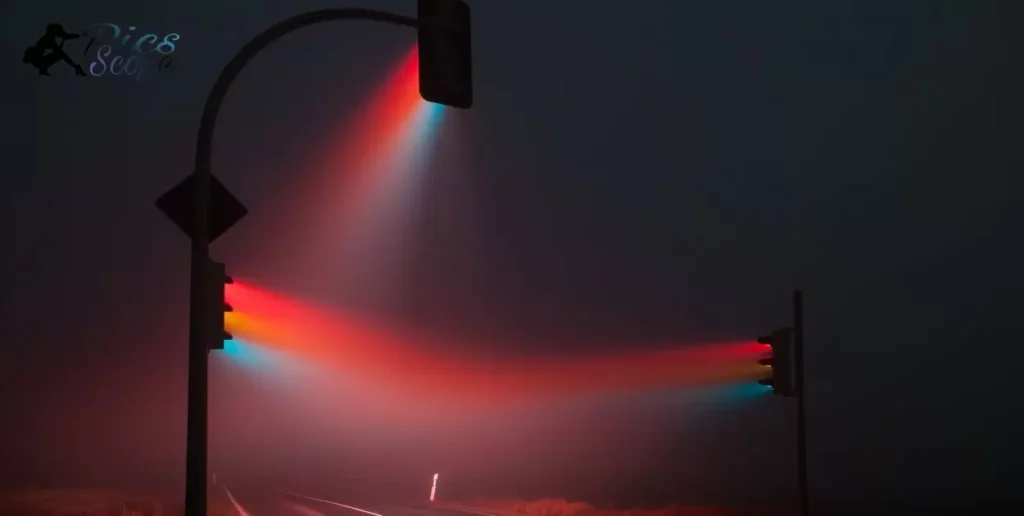
In photography, knowing light sources and their direction is crucial. Different sources—natural like the sun or artificial like lamps—impact how a photo looks. The direction of light creates shadows, depth, and highlights, shaping the mood and focus of the image.
By understanding light sources, photographers control the atmosphere of their photos. They adjust angles to capture desired shadows or illuminate subjects. Mastery of light direction empowers photographers to craft compelling, dynamic images that convey the intended emotions and messages.
Time of Day: Best Hours for Shooting
When capturing photos, the time of day matters greatly. Mornings and evenings offer soft, warm light, ideal for shooting. Midday sun can create harsh shadows, making it challenging to get the perfect shot.
Early morning just after sunrise provides a serene ambiance and beautiful hues. Similarly, the “golden hour” before sunset casts a magical glow, enhancing your photography. These hours offer stunning lighting conditions for capturing remarkable shots, making them the best times for photography sessions.
Importance of Overcast Days
Overcast days in photography are crucial. They soften harsh light, creating a natural diffuser. This even lighting enhances colors and textures, making photos more vibrant.
These days offer ideal conditions. They bring out rich, deep tones in landscapes. The diffused light reduces harsh shadows, adding a sense of depth to portraits. Overcast skies become a canvas for stunning and emotive photography.
Utilizing Reflectors for Balanced Light
Reflectors help balance light in photography. They bounce light onto subjects, reducing harsh shadows. Photographers hold reflectors to direct light and enhance portraits.
Different reflector colors create varied effects. Silver reflects strong, direct light for contrast. White gives soft, even lighting, great for portraits. Reflectors are versatile tools for creating well-lit, balanced photos.
Adjusting Camera Settings for Shadow Reduction
To reduce shadows in your photos, start by adjusting the camera settings. Begin with the aperture setting: choose a smaller aperture, like f/8 or higher, to let less light in and decrease shadow intensity. Next, tweak the shutter speed to balance exposure without creating too much darkness or blurriness.
Experiment with ISO settings—opt for a lower ISO to minimize digital noise and preserve details in shadowy areas. Additionally, use exposure compensation to brighten up shadows while maintaining overall image quality. These adjustments can significantly enhance your photos by reducing distracting shadows and ensuring a well-exposed image.
Positioning Subjects in Relation to the Sun
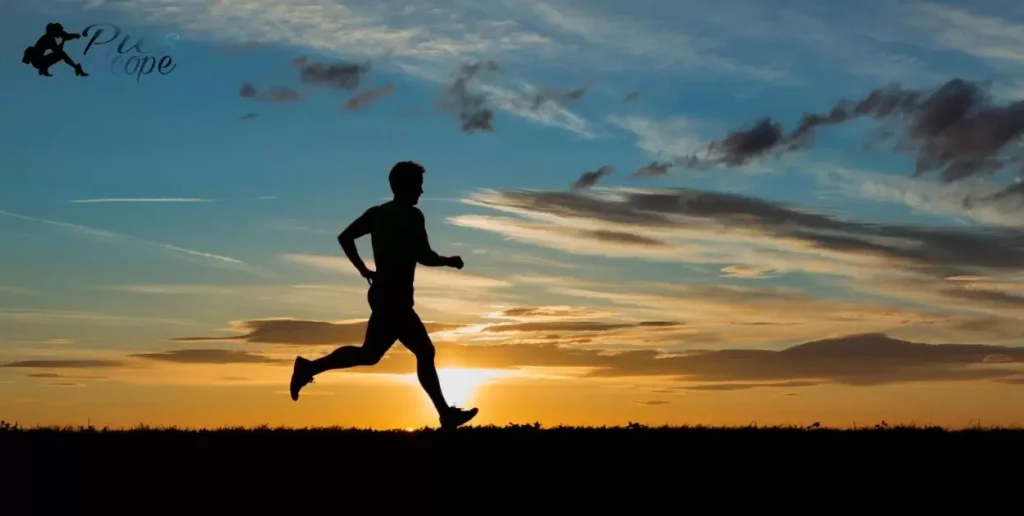
In photography, positioning subjects in relation to the sun is crucial for captivating shots. Placing the subject facing the sun creates stunning silhouettes, outlining their shape against the bright backdrop. This technique adds depth and drama to the photo, highlighting the contours and creating a striking visual impact.
Positioning the subject with the sun behind them casts a soft, warm glow, illuminating their features. This technique, known as backlighting, adds a beautiful halo effect and brings a radiant quality to the subject, enhancing the mood of the photograph.
How To Avoid Shadows With Led Lights
To steer clear of shadows with LED lights, position them strategically. Place the lights in front of the subject to prevent shadows behind. Angle the lights slightly for even illumination and lessen harsh shadows.
Spacing out multiple LED lights helps to diffuse shadows. Adjust their placement to cover different angles and sides. Experiment with the distance and angles to find the optimal setup that minimizes shadows effectively.
Using Diffusers to Soften Harsh Light
Diffusers are tools in photography. They make harsh light softer. Harsh light can create strong shadows. Diffusers help by spreading light evenly. They reduce harsh contrasts in photos. Photographers use them for better portraits. Diffusers come in various sizes and shapes. They can attach to light sources easily.
Softening light is crucial in photography. Harsh light can be unflattering. It causes harsh shadows on subjects. Diffusers help in creating a more pleasing look. They scatter light gently across the scene. This creates a softer, more diffused effect. They’re handy tools for photographers aiming for a softer, more natural lighting in their shots.
Creative Use of Shade and Natural Elements
Photography using natural elements and shade is incredibly creative. It captures the beauty of sunlight peeking through trees or the play of shadows on a textured surface. By utilizing these natural elements, photographers create stunning images with depth and contrast.
Shade and natural elements add a unique touch to photos. They bring out the intricate details of a subject and create a mood that’s both dramatic and captivating. Photographers skillfully use these elements to compose visually striking images, highlighting the beauty found in everyday scenes through their lens.
Filling in Shadows with Fill Flash
Fill flash brightens shadows in photos. It adds light to dark areas. This technique enhances details and reduces harsh shadows. Photographers use it to balance light in their shots.
When using fill flash, the flash fills shadows. It reduces contrast in the image. This creates a more balanced and even exposure in photography.
Choosing the Right Shooting Angle
Selecting the perfect shooting angle in photography is vital. It determines the perspective, mood, and storytelling in your images. Different angles convey varied emotions and messages to your audience.
Experiment with high and low angles to capture unique viewpoints. Low angles can make subjects appear powerful, while high angles offer a broader scene. The right angle elevates the impact of your photos, enhancing their visual appeal and depth. Understanding these angles helps you craft compelling visual narratives, making your photography stand out.
Minimizing Shadows through Post-Processing
Shadows In Indoor Photography are a common challenge that photographers face. Post-processing in photography is a powerful tool that can help reduce shadows significantly. You can use this technique by adjusting the brightness and contrast of the image. By tweaking these settings appropriately, shadows become less prominent, resulting in an image with enhanced overall quality.
Photographers use editing software for this purpose. They manipulate the image to minimize shadows. Post-processing improves the visual appeal significantly.
Techniques for Backlighting Subjects
Backlighting in photography highlights subjects by placing light behind them. It creates a stunning effect, emphasizing silhouettes and adding depth. One technique involves adjusting the exposure to balance the subject against the bright background, enhancing the outline and creating a dramatic scene.
To master backlighting, control the exposure settings, like adjusting the aperture and shutter speed. Experiment with angles to capture the subject’s shape and details. Utilize reflectors or fill flash to add light to the subject, maintaining a balanced composition. With practice, backlighting becomes a powerful tool for captivating and artistic photography.
How To Take Photo Without Phone Shadow
To snap a photo sans phone shadows, try adjusting your angle and light source. Position yourself or the object you’re photographing to avoid casting shadows. If indoors, utilize natural light from windows or move artificial light sources to eliminate shadows.
Consider altering your phone’s position. Hold it slightly above or to the side of the subject to prevent the phone itself from casting a shadow. Experiment with different angles and light placements until you capture the perfect shadow-free shot. With a bit of adjustment and awareness, you can master the art of taking photos without pesky phone shadows!
Incorporating HDR Imaging for Dynamic Range
HDR imaging improves dynamic range in photography. It merges multiple exposures of the same scene, capturing various light levels. This technique ensures details in both bright and dark areas, creating a balanced, vibrant image.
Photographers use HDR to capture landscapes, architecture, and scenes with stark contrasts. By blending exposures, they reveal intricate details often lost in standard photos. This method enhances the overall quality of the image, resulting in striking, true-to-life photographs.
How To Avoid Shadows In Passport Photo
To sidestep shadows in your passport photo, pick a well-lit area without harsh lights. Face the light source directly, ensuring it falls evenly on your face. Position yourself at a distance where shadows won’t obscure facial features.
Hold steady and stand straight, keeping your face and shoulders square to the camera. Avoid tilting your head or angling your face, as this might cast shadows. If outdoors, choose a cloudy day to diffuse sunlight or find a shaded spot for even lighting. Remember, light positioned behind the photographer can help minimize shadows on your face.
Avoiding High-Contrast Scenarios
In photography, avoiding high-contrast scenarios is important. High contrast can create harsh shadows and blown-out highlights, making it hard to capture details. To prevent this, photographers can seek even lighting conditions, like shooting during overcast days or using diffusers to soften sunlight.
Another way to avoid high contrast is by choosing the right time of day for shooting. Early mornings or late afternoons offer softer, more diffused light compared to midday. Adjusting camera settings, such as using exposure compensation or HDR techniques, also helps in managing high-contrast scenes, ensuring a well-balanced and visually appealing photograph.
Employing Lens Hoods and Filters
Lens hoods and filters enhance photography. A lens hood blocks stray light, reducing glare and unwanted reflections. It helps improve contrast and color saturation in photos.
Filters, like polarizers or ND filters, modify light entering the lens. They enhance skies, reduce reflections, or slow down shutter speeds for creative effects. Both lens hoods and filters are essential accessories for photographers, elevating the quality and creativity of their shots. They’re simple yet powerful tools that significantly impact the final image.
Experimenting with Multiple Light Sources
Multiple light sources in photography allow for creative experimentation. You can use various sources like natural light, artificial bulbs, or flashes to enhance your images. Mixing these lights creates depth, highlights, and shadows, adding dimension to your photographs.
Experimenting with multiple light sources demands understanding their effects. Play with angles, intensities, and distances to manipulate the mood and atmosphere. Practice and observation will refine your skills, unveiling unique ways to illuminate your subjects creatively.
How To Eliminate Shadow On White Background
Sure! To eliminate shadows on a white background, position your subject away from the backdrop. Use multiple light sources angled towards the background to evenly illuminate it. Ensure the lights don’t cast shadows by adjusting their positions and angles.
Another method is to use a reflector or bounce card to redirect light onto the shadowed areas. Softening the light sources or using diffusers can help reduce harsh shadows. Experiment with the light placements until you achieve an evenly lit white background without any visible shadows on it.
Strategic Composition to Mitigate Shadows
When taking photos, planning your composition is crucial to reduce shadows. Positioning your subject and adjusting light sources can help minimize unwanted shadows in your pictures. Strategic placement of the subject and the light source aids in capturing clearer and more vibrant photographs.
Experimenting with different angles and light directions is key to managing shadows in photography. By strategically composing your shots, you can create visually appealing images with minimal shadow interference. Understanding how light interacts with your subject allows you to control and mitigate shadows effectively for better picture quality.
Making Use of Golden Hour Light
- Vibrant Colors: Using golden hour light enhances colors, saturating your photos with warm, rich tones, making them visually stunning.
- Soft, Flattering Light: The gentle, diffused sunlight during the golden hour creates soft shadows, offering flattering illumination for portraits and landscapes.
- Reduced Harshness: Unlike the harsh midday sun, the golden hour’s angled light reduces harsh contrasts, resulting in more balanced and appealing images.
- Dramatic Atmosphere: The unique quality of golden hour light adds a touch of magic, creating a captivating and dreamy atmosphere in your photographs.
- Enhanced Textures: The sidelighting during this time accentuates textures, adding depth and detail to your subjects, whether it’s nature, architecture, or people.
Enhancing Details in Shadowed Areas
Enhancing details in shadowed areas of a photo improves its overall quality. To achieve this, use exposure compensation or adjust settings to balance light. Additionally, consider post-processing techniques like increasing brightness or using HDR to reveal hidden details in shadows.
Understanding your camera settings is crucial for capturing shadowed areas effectively. Utilize exposure adjustments or fill-flash to illuminate darker regions. Experiment with different angles and light sources to capture richer details in the shadows, ensuring a well-balanced and compelling photograph.
How To Eliminate Shadows In Video
| Method | Description |
| Lighting Setup | Use diffused or additional lighting to reduce shadow formation. |
| Reflector Use | Employ reflectors to bounce light and minimize shadows. |
| Adjust Angles | Alter camera and lighting angles to lessen shadow presence. |
| Post-Processing | Edit video in software to decrease or remove shadow effects. |
This table outlines various methods to eliminate shadows in video, ranging from adjusting lighting setups to utilizing post-processing techniques.
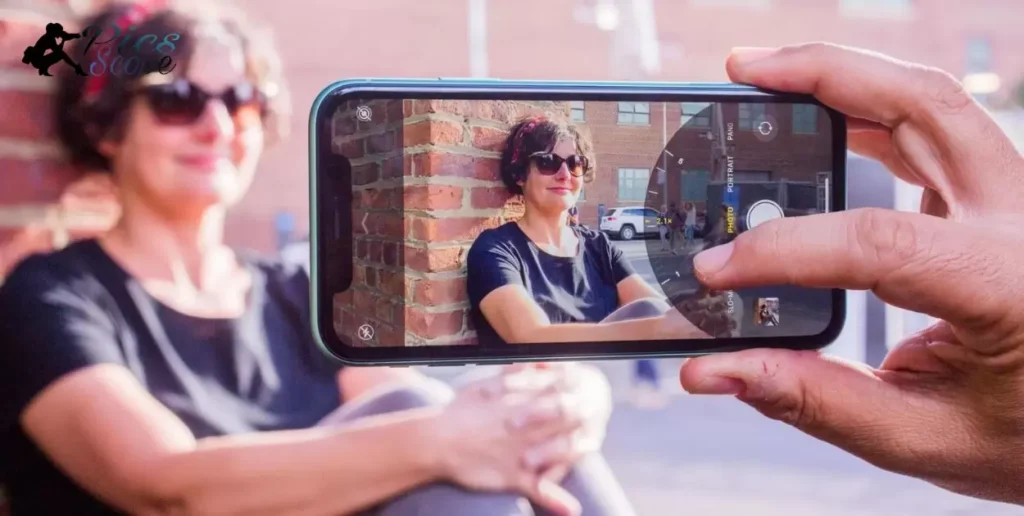
How To Take Picture Without Shadow On Iphone
To snap shadow-free pics on your iPhone, find ample natural light. Position your subject facing the light source, like a window. This reduces shadows on your subject, creating a clearer image.
Adjust your iPhone settings to ensure proper exposure. Tap your subject on the screen to focus and set exposure. Consider using photo-editing apps to fine-tune brightness and contrast. Remember, ample light and strategic positioning are key to capturing shadow-free photos on your iPhone.
Frequently Asked Question
How do I remove shadows from photos?
To remove shadows from photos, use editing software’s shadow adjustment tools. Increase brightness and reduce contrast to diminish shadows effectively.
What causes shadows in photography?
Shadows in photography are caused by the obstruction of light. When an object blocks light, it creates a shadow behind it due to the absence of illumination on that particular area
How do you get rid of shadows?
Eliminate shadows by using diffused lighting or repositioning the light source. Ensure ample, even illumination to minimize or eliminate shadows effectively.
What are the three factors that affect shadows?
The three factors influencing shadows are the size of the light source, the distance between the object and the light, and the object’s position in relation to the light.
Conclusion
In outdoor photography, mastering shadow management enhances your shots. To dodge shadows, timing is key—schedule shoots during the golden hours, early morning, or late afternoon.
Utilize natural light angles to your advantage, positioning subjects facing the light to reduce harsh shadows. Additionally, consider using reflectors or diffusers to manipulate light, minimizing unwanted shadows for a more striking outdoor photo collection. By employing these techniques, you can elevate your outdoor photography and produce captivating, shadow-free images that truly stand out.